http://runnersdiary.webs.com/AilesDeLAmourW.jpg

6.10.10

Built like a Mule or a Clydesdale

Photobucket

Power meal before my run last night. Yummy pesto goodness. Cooked some noodles, pulled out a couple of frozen pestos pieces from its respective ice cube tray in my freezer, and topped off with some mozzarella cheese. Dear me, the drool is escaping down my chin.

Before my run I did a little reading on NY Times, because I like to have something to ponder as I pound away the miles. Sort of like in high school when the English teacher would give a writing prompt in order to force you into creating some literary awesomeness (my teacher's would be so proud of my use of language). I do this for two reasons:
  • Keeps my brain from thinking about running. Kind of like highway hypnosis. Thinking about abstract ideas takes all the mental energy that I would use to think, "Why am I doing this?", "How can I create a shortcut on my route and get home to watch Dancing With the Stars on Time?", or, "Am I crazy?" and puts that energy into more meaningful topics. For example, "How can I reduce my environmental impact?", "What new and healthy recipe can I use to entice my office mates?", or, "Did I TiVo Dancing with the Stars?"
  • Thinking about a prompted topic keeps me from accidentally singing out loud to the tunes on my iPod. That is more for everyone else's sake rather than my own.
The NY Times article that peaked my interest today was on weight classes in road races. Why it interested me was because I would currently fall under the women's weight class for a Clydesdale, if not at least an Athena. But not just that, I would have also fallen under this category when I was much fitter in high school.

Never one to really think dwell on weight so much as feeling healthy and fit, I've also never run a road race with the intention of winning. My goal is generally to stay in my PR range and enjoy the energy and fun of running along side others. And the cool swag, I love me some race t-shirts.

In high school I lovingly referred to myself as the mule. Never a sprinter by any stretch of the imagination, but I could finish any long distance run our coach threw at us. To me, fast was fast, and finishing was finishing. But I never put myself into a weight class.

The concept was not foreign though, even as a teenager I listened as two of my best friends would talk about weighing in for Power Lifting competition. Their sport recognized that there was a difference in performance between size, enough to justify different weight classes. However, I also learned of the pressure they faced before each competition to maintain their current weight, because even gaining a couple pounds. Because if they were pumped up into the next weight class, they would be on the low end and that could throw them off, not only physically but mentally as well.

All this thought provoking internal monologue carried me through mile two of my run. Then Kat DeLuna started belting out "Whine Up" and I started to jam along proving the second bullet point up top to be absolutely accurate. Inner dialog momentarily put on hiatus.

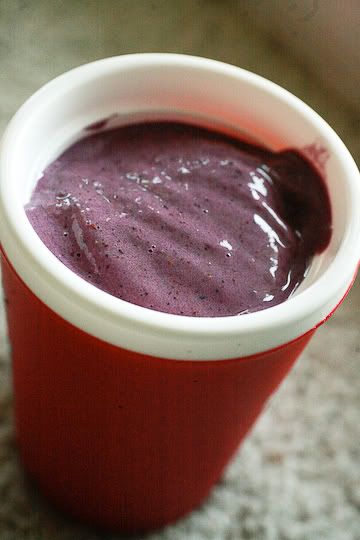
I finished my daily running and ponder time with a wild berry protein smoothie. Then I flipped on "Dancing with the Stars" and settled in for my final thoughts on my mental running prompt.

Photobucket

Which brings me to my parting analysis. Quite honestly, I really do not have a strong position formed on Clydesdale racing. I know there is a distinct advantage to small, lean racers. However, winning is not why I run. Even when I was younger I ran more to beat my own personal best rather then to race the pack. But that does not necessarily mean that is how everyone else sees this. Some folks want fairness, but on the flip side other folks do not want to be classified.

Its the competitive versus those folks just going out to have fun. I fall on the side that just wants to be healthy and enjoy myself. None of the races in my area have really offered this option for racing, but I will be interested to see if in the coming years if it gains popularity, that it pops up at more races.

***

On a side note, happy "International Walk to School Day!" If I had kiddos, I would definately make them lace up their tennis shoes and trudge it to class.
5.10.10

Pita + Hummus { Part 2 ::: The Hummus }

Photobucket

This is the easy-peasy version of Hummus. I like it no fuss and a bit mild--mind you, not bland but mild. And it has the two thumbs and toe up from all of my office mates, including the hummus connoisseurs as well as those who swore up and down that they did not like hummus.

The Cast:
  • 15.5 oz can chickpeas (garbanzos) - drained but save the juice
  • 1 lemon
  • 1/4 cup tahini
  • 2 cloves garlic
  • 1/2 tsp salt
  • 2 tbsp olive oil
  • 1/4 cup chopped parsley
The Method:

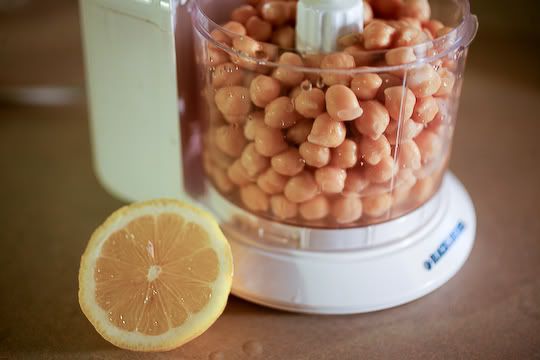
In a food processor add the can of drained chickpeas and aprox. 1/4 cup of the juice from the chickpea can. Cut the lemon and squeeze the juice into the processor. Begin blending.

Photobucket

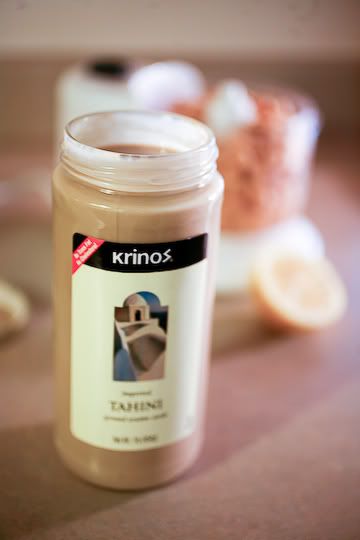
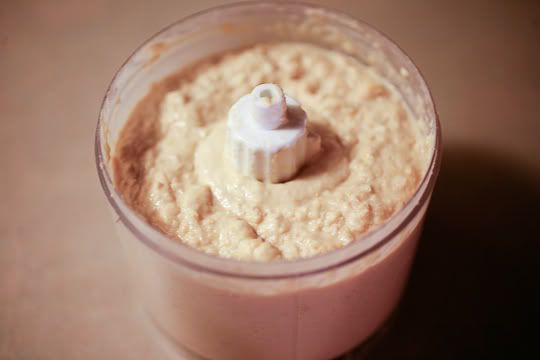
Add into the mix the 1/4 cup of Tahini, along with the salt. Tahini is a sesame seed oil, and tends to seperate in the jar, so it is a good idea to stir it up well before pouring into the food processor. Blend until smooth. If having a difficult time blending, pour in slowly some more of the juice from the chickpea can.

Photobucket

When the texture looks consistent, take a sample bite and flavor to personal preference adding more lemon juice, salt, or tahini.

Photobucket

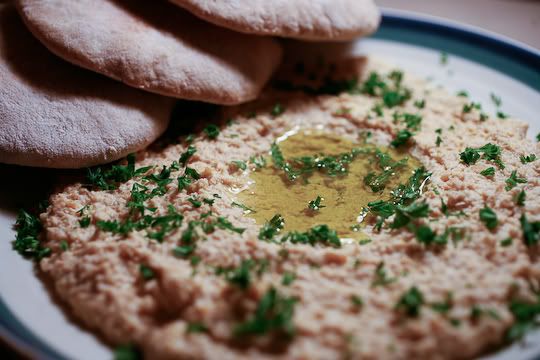
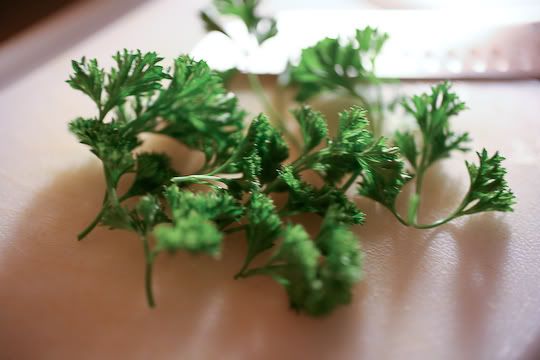
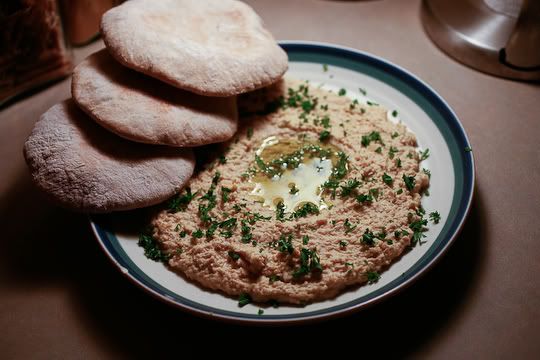
When satisfied, spread over a plate, leaving a well in the middle of the hummus. Finely chop up some fresh parsley and sprinkle over the mixture. May also use other spices, such as paprika to give it a little umph.

Photobucket

Drizzle the olive oil into the well and it is ready to go. Best if slightly chilled. Serve with pita bread, veggies, use as a spread in sandwich--this little bugger is good just about anywhere.

Photobucket

Pita + Hummus { Part 1 ::: The Pita }

Photobucket

I love pita bread because the ingredients are so simple, and the end result is so much better then the ones I find in the store. Sure, I usually burn my knuckles trying to whip the pans out of the oven so quickly, but that can be chalked up to excitement.

The past week as the temps start to cool I have been in more of a cooking mood. Something about fall and the leaves changing colors just makes me want to pull out my apron and channel Julia Child. So, without further ado:

The Cast:


1 tsp sugar
1 packet yeast (aprox 7 grams)
1 cup warm H2O
2 cups wheat flour
1 cup bread flour
1 tsp salt
1/4 cup olive oil

The Method:

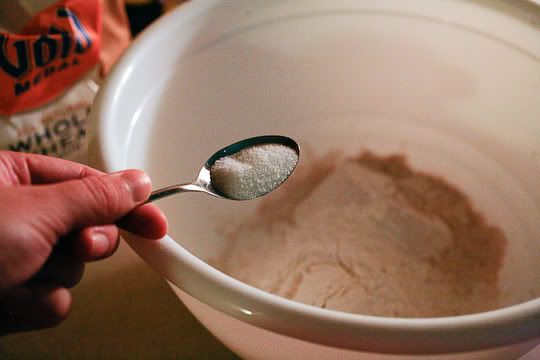
In a small container, stir in the sugar and packet of yeast. Add in 1/2 cup of warm water. The sugar will help activate the yeast. Let this little Dexter experiment sit for about 10-15 minutes.

Meanwhile, in a large mixing bowl, add in the wheat and bread flour. You could just go with all bread flour, but to make it a tad bit more healthy, I went with the wheat option and it turned out brilliantly. Stir in the salt.

Photobucket

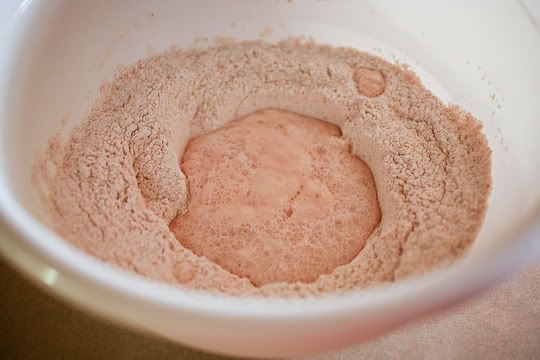
In the center of the flour make a little well and add in 1 cup of warm water.

Photobucket

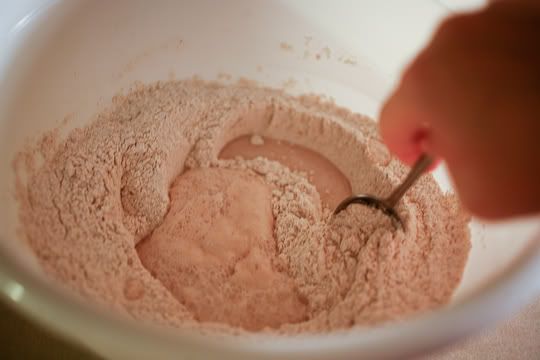
Slowly begin stirring in the flour, working your way to the outside of the bowl. Note of what not to do: all my wooden spoons were in the sink to be washed. Make life easier and use a good ol' fashion wooden spoon during this part of the process, it is less likely to stick to the dough.

Photobucket

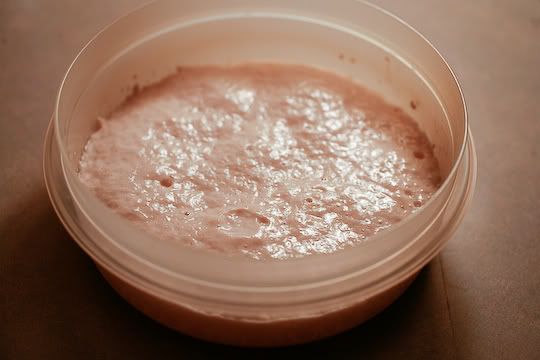
The yeast should be about ready and you can tell because it will be a tad bit bubbly on the top.

Photobucket

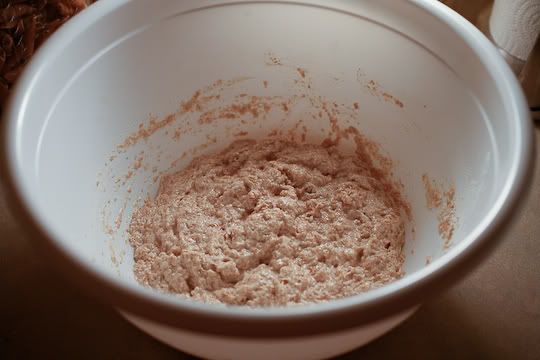
Now it is time to mix in the yeast/sugar mixture. It is going to be a tad bit lumpy, but no worries, everything will smooth itself out shortly.

Photobucket

In another bowl drizzle in some olive oil. Move it around to cover the bottom and outside edges of the bowl. In the end I probably used about 1/4 cup. Then take the dough and put in the olive oil filled bowl. The oil will help so that the dough does not stick to the sides, but it will also encourage it to rise upwards.

Photobucket

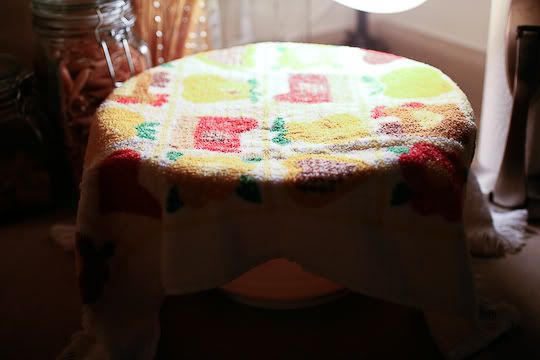
Cover the dough with saran wrap and then add a towel over the top. Store in a warm place for 45 minutes to an hour. For me that was over the dishwasher, where I was actually trying to clean things up a bit. Desperate times call for desperate measures when you suddenly run out of forks.

Photobucket

It's at this point when the dough is rising that I will generally make my hummus, but that portion is for another post. So this time around I am going to sit back, prop me feet up and enjoy Dancing with the Stars.

Photobucket

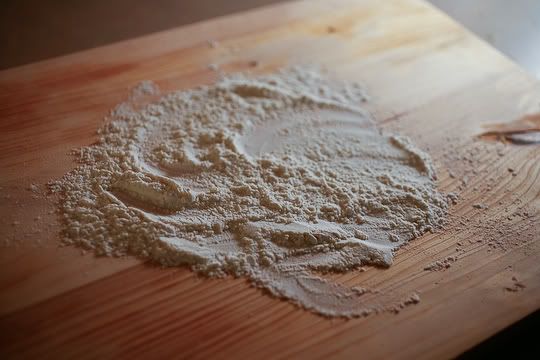
After the dough has had its breathing time, add flour to your surface. I like to use a wood cutting board. Contains the mess, a bit, and sticks a little less.

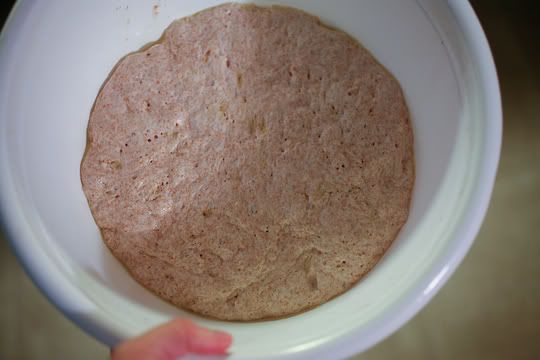
Unwrap the dough that has been resting (talk about taking it easy before a workout), it should have risen in the bowl, and come cleanly off the edges thanks to the olive oil.

Photobucket

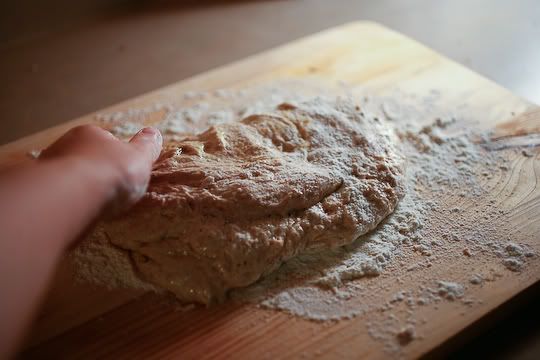
Now it is time for the baking workout. Using the flour on the board, and generously adding some more as it kneads into the dough. The dough is ready when it no longer sticks to your hands or the board. If it is sticky, keep working it in. Took about 15 minutes for me to make this dough submissive to me and my muscular kneading arms. All this will help and make it nice and crusty.

Photobucket

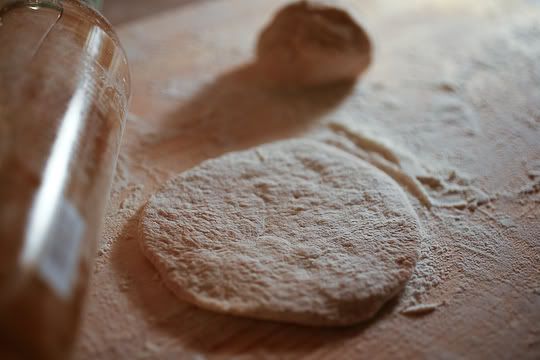
Once the dough is thoroughly kneaded, break it off into small balls, rough the size of your fist. Take them and roll them out with a rolling pin (or wine bottle in my case -- white wines are rather nice for this). They should measure about 5-6 inches in diameter.

Photobucket

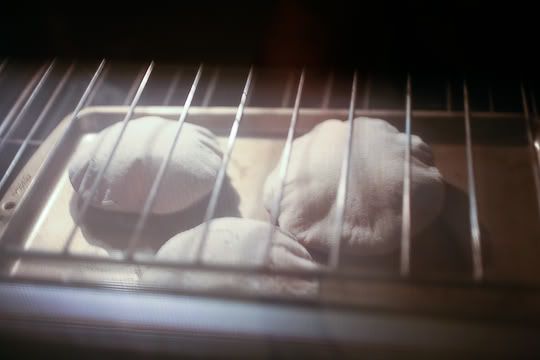
Now the part where I usually burn myself on the oven. It should be preheated to a whopping 500 degrees, and you want to make sure that the rack is on the lowest rung. I preheat the pan in the oven, so when it is ready, the bread bakes to moment it hits the metal.

Add the dough to the sheet -- 2 to 3 pieces to the pan. Put in the oven for 4-5 minutes. It will start to balloon up and look like a whoopee cushion. Take them out and flip them, putting them back in for another two minutes. The pitas should be soft, so when the edges start getting a little browned, it it time to take them out.

Photobucket

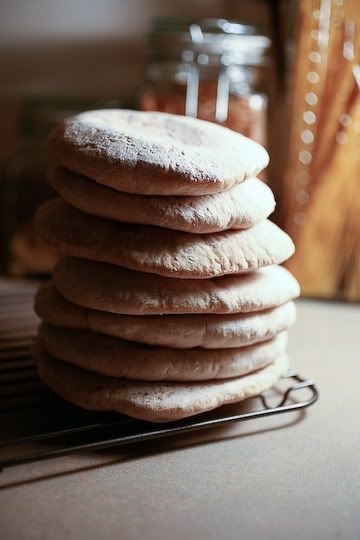
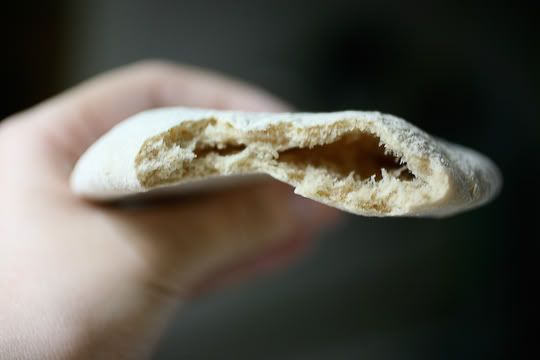
Place the pitas on a cooling rack. Using a knife, I deflate them a bit.

Photobucket

And when they are done, they are a nice, soft bread, ready for just about anything. In this case it was hummus, but I saved a few extras for the morning and spread them with Nutella and Almond Butter.

Store in a plastic bag letting out the air before closing it up so they stay nice and moist.