http://runnersdiary.webs.com/AilesDeLAmourW.jpg

Showing posts with label recipes. Show all posts

31.1.11

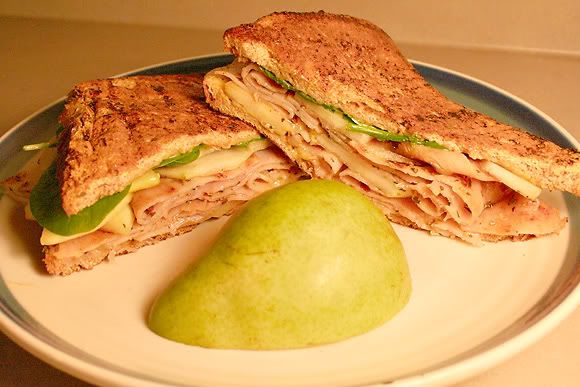
Monte Cristo Sandwich - Healthy Style

Photobucket

I really like this sandwich because it mixes the best of sweet and spicy. It fills me up after a long run, and packs a huge punch full of the protein and other good stuff I need during my body's recovery process. Did I mention that it tastes scrum-didely-umptious?

The Motley Crew:

  • 4 turkey breast slices -- aprox 4-oz each
  • 1 tsp olive oil, divided
  • 1/2 tsp dried oregano
  • Sea salt and fresh ground black pepper, to taste
  • 1/4 cup eggbeaters
  • 1 tbsp almond milk
  • Cayenne pepper, to taste
  • 1 tbsp honey mustard
  • 2 slices whole-grain bread
  • 1/2 cup baby spinach leaves
  • 1/2 pear, thinly sliced
  • 1 1-oz slice low-fat Swiss cheese

The Method:

Start it out in a bowl and take the turkey slices and drizzle the olive oil over top. Toss in the oregano, salt and black pepper. My favorite part, get messy and make sure that the surfaces are all covered with the ingredients.

Next up take a nonstick pan and put it at about medium heat. Take out the turkey slices and throw them in and cook each side until it is light brown. Should go pretty fast, just a minute to a minute and a half a side. Take them out of the pan, and I just threw it back in the original bowl while I worked on the next part.

In a different dish, whisk up the egg beaters and milk. Toss in a little smidgen of sea salt, pepper, and cayenne. Okay, I tossed in a bunch of Cayenne, but that is up to personal preference. Push off to the side for a few minutes.

Now take the slices of bread and spread the honey mustard on one side each. Start layering on the ingredients. Be generous with the spinach because it will shrivel up a bit in the next step. Add on the pear and turkey. Finish with a lovely piece of cheese, and the other piece of bread, and voila! Ready for the really fun part.

Heat up the nonstick pan again and add a teaspoon of oil back on medium heat. I find using tongs works the most efficient for keeping the little bugger together. Dip the sandwich in the egg beaters mixture, immersing a good part of the bread. Move it over to the pan and cook until golden brown (like if you were making french toast). Remove and soak other side of sandwich, then put back on the pan for another few minutes.

That's all there is, it is ready to eat. I love this after a good workout.

The Healthy Facts:

  • Calories: Aprox. 430
  • Total Fat: 7 g
  • Sat. Fat: 2 g,
  • Carbs: 34 g
  • Fiber: 6 g
  • Sugars: 9 g
  • Protein: 53 g
  • Sodium: 750 mg
  • Cholesterol: 105 mg
Adapted from Clean Eating
Photobucket

21.10.10

French Toast and 5K's

Photobucket

The morning was brisk, but warming slowly. The fall air had a perfect crispness and I wanted to celebrate it with one of my favorite breakfast meals: French Toast. But I'll come back to that.

I also wanted to be well fed before my 5K that started in an hour. Especially since my body had been dragging during my training runs earlier in the week.

Photobucket

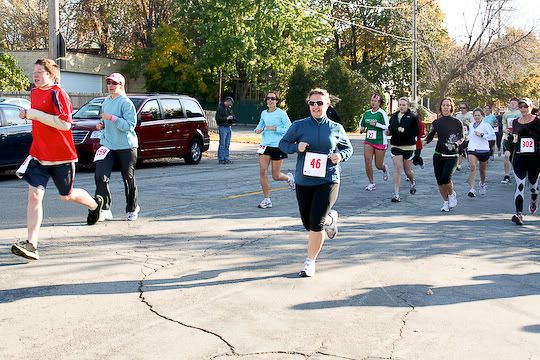
It was the 17th annual St. Joes Food Pantry 5K. This is a fun easy run for a few reasons.

  • First, it is an awesome cause. There is a minimal entry fee, but you are encouraged to bring can goods to the race and help stock St. Joe's shelves. Win-win for everyone.
  • The Beautiful course is a major bonus. Half of the race is run over the Trestle Trail, which used to be an old railroad line across Lake Butte Des Morts.
  • The rockin' door prizes. They have a ton from local sponsors. And although the odds are in my favor that I should win one, I never do. Nonetheless there are loads of goodies to be won, and I did get a stick of Noodles and Co. chap stick "Asian Mediterranean American". I'll take the small victories.
  • It's a Portsmouth Start, so anyone can be the winner.
Photobucket

Despite all the awesomeness of this 5K, I was battling my own demons. Every run over the last week I have been feeling sluggish. My pace times have been fairly close to what I am used too, but for some reason I just don't feel fast. I do not know if there is a runners term for this sluggish feeling other then, uhggg.

Photobucket

But I finished the race strong, unfortunately I did not know my official time until a few days after the race. Part of that was my problem because I forgot to set my watch. The second being that although there was a clock at the end of the race, it did not necessarily mean that it was anywhere close to my time since it was a Portsmouth start.

For those who might be curious to exactly what that entails, runners start in waves based on age. Runners on the more mature end of the scale get a bit of a head start, as well as those on the very youthful side (i.e. 12 and under). As the ages move toward the late twenties early thirties, the waves start closer and closer together. My wave was #34, so I started roughly six minutes after the first runner.

When all was said and done, I finished in 26:55 after adjusting for my Portsmouth start, which put me in 154th place. If you took out the Portsmouth start and just ran it like a "traditional" race, I jump to 132nd. Not a big deal to me, feeling as sluggish as I did I was just happy to cross the finish line.

The best part was there was a young pre-teen who finished just ahead of me who turned around in the chute with a huge grin and put his hand out to me for a high five, "Awesome race!"

"Right back at ya!" I 'heart' runners of all ages. We are pretty cool people.

Photobucket

The awesome thing about this start, the winner of this race finished with a time 34:54 min. Because of her adjusted start time, she beat out the second place finisher who had a time of 17:19 min. And both of them beat out third place finisher with the fastest time over all: 16:45 min.

The best part, the winner was a women 84 years young. Dang girl, if I can finish a 5K in under 35 minutes when I am in my 80's, it will be a miracle. For obvious reasons, she received a very healthy round of applause and cheers when she accepted her 1st Place metal.

Photobucket

So back to the French Toast. I am fairly certain the only reason I was able to drag my lazy behind across the finish line was thanks to this little yummy friend. So not to leave ya hangin', here is how I make my favorite breakfast food:

The Cast:
  • 1/4 cup wheat flour
  • 1 cup Almond Milk, Vanilla flavored
  • 1 pinch salt
  • 3/4 cup egg beaters
  • 1/2 teaspoon ground cinnamon
  • 1 teaspoon vanilla extract
  • 1/2 teaspoon nutmeg
  • 8 slices of wheat bread
The Method:

Add the wheat flour to a mixing bowl. Slowly whisk in the almond milk. Stir in the egg beaters, cinnamon, vanilla extract and nutmeg until smooth.


Get out the good ol' frying pan and turn up to medium heat. Soak bread slice in the mixture, and flip to make sure it is thoroughly saturated with the yummy batter. Pull out of mixture and gently hit it on the side of the bowls to get out the excess batter.

Cook on frying pan until the side begins to golden. Toast may raise in the pan slightly due to the flour mixture. Top with berries and a a few tablespoons of Maple syrup.


Then go run a 5K. --Wait, how did that get into my recipe accordion?

15.10.10

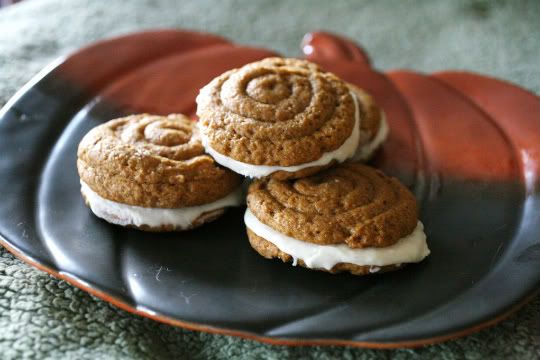
Pumpkin Creme Pies & A Run

Photobucket

I loved Oatmeal Creme Pies growing up. Like to the point, where if my mom splurged on a box, between the two of us we inhaled them within a couple days. Probably not the best idea in the world, but I can hardly blame Little Debbie for making such delectable treats.

A few days ago I was perusing through websites and stumbled upon Pumpkin Creme Pies. I was intrigued. Could they hold up to the awesomeness of my childhood favorites?

There was only one to find out.

I went to the store to pick up a few of the ingredients I did not have; pumpkin, nutmeg and cloves. Then I came home and realized I did in fact, have full jars of nutmeg and cloves...oops. Guess that meant if the recipe went well, I would be making more.

Followed the recipe pretty much to a "T", but made a few substitutions. Lets face it, with as much sugar going into this thing as there is, it is not going to be the most healthy creation, but I could help it out a touch. Highlighted substitutes in bold.

Photobucket


The Cast:

For the Cookie:
  • 1 cup Brown Sugar
  • 1 cup Sugar
  • 1 cup Vegetable Oil
  • 1 can Pumpkin (15 Oz.)
  • 1/2 cup Egg Beaters
  • 1 teaspoon Vanilla Extract
  • 3 cups Wheat Flour
  • 1 teaspoon Baking Soda
  • 1 teaspoon Baking Powder
  • 1 Tablespoon Cinnamon
  • 1 teaspoon Ground Ginger
  • ½ teaspoons Salt
  • ½ teaspoons Ground Nutmeg
  • ¼ teaspoons Ground Cloves
For the Frosting:
  • 1 package Cream Cheese Softened (8 Oz.)
  • 1 cup Cocoa Butter, Room Temperature
  • 1 package Powdered Sugar (16 Oz.)
  • 3 drops Vanilla Extract
  • 2 dashes Cinnamon
The Method:

Preheat oven to 350 degrees.

Pumpkin Creme Pies:

Mix the brown sugar, sugar, oil and pumpkin. Add the egg beaters slowly, and continue mixing. Add in the vanilla -- I am still spoiled with the stuff I brought back from the Dominican Republic. I honestly can taste the difference.

In a separate bowl, mix together the dry ingredients.

Combine the dry ingredients into the wet ingredient bowl slowly.

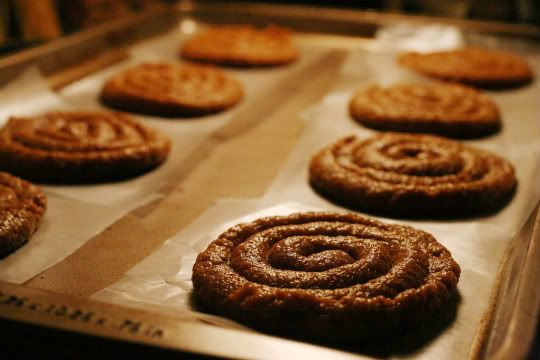
Cut 3 inch squares of parchment paper, the original recipe calls for 24, but because I cut the pastry bag tip a little smaller, I ended up with 30. Using a pastry bag plastic baggie since I don’t have any pastry bags around, cut a hole in the tip, start making a swirl pattern on the pieces of wax paper. Mine were also a little larger then the original recipe, about 3 inches wide.

Put the piped batter circles onto the sheets, and allow them to bake for 12 minutes, you want them firm enough, but overall pretty soft. Pull them off the baking sheet and onto a cooling rack or a towel to settle.

Cream Cheese Filling:

Mix together cream cheese and butter. Add in the powdered sugar, vanilla and cinnamon.

Once the pies are cooled (if they are too warm the frosting will melt off and drip down the sides more than necessary), frost a flat side of one pie, and add another on top to sandwich it off.

I ate a freshly warm Pumpkin Crème Pie and one that had sat in the refrigerator overnight, you know – for testing purposes. Preferred the cooler version, and the pie portion stayed nice and soft.

The Run:

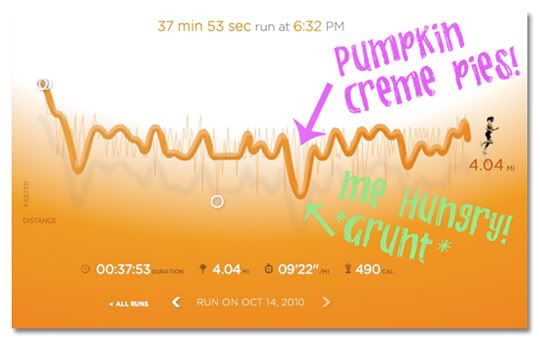
I went out for a nice and easy four mile run before I baked the yummy-to-my-tummy Pumpkin Crème Pies. For some reason during most of the run my body felt out of sorts. I at my usual pre run snack, and had a good breakfast and lunch earlier in the day. I had hypothesis that I wasn’t hydrated enough, or if it might be the lack of sleep the last few days. But I would make the case that it was the Pumpkin Crème Pies fault. The mere thought of them is quite distracting.

To illustrate my point:

The whole time I was out on my run I knew in the back of my mind that the ingredients to this delectable treat were sitting on the counter awaiting my return. My focus was definitely on reviewing the recipe in my head.

A little over the halfway point I started to visualize the completed project. The fall favors of soothing pumpkin and spicy nutmeg. Drool escaped the corner of my mouth. And the frosting, heaven almighty, the frosting! The distraction was overwhelming, as evidence by my running graph.


Photobucket

So, in conclusion, it was definately the pies fault I was sluggish. There really is no other explanation.

11.10.10

Margherita Pizza

Photobucket

I have not brought a store purchased or delivery pizza in several months. They are so easy, just grab one at the store and when I come home, throw it into my oven. Taa-Daa -- instant dinner!

Lately I have made a conscious decision to enjoy the whole process involving my food, including the actual part where I cook. And to be honest, everything tastes a little bit better with that special ingredient, love.

Queue cheesie groans.

I am suck a dork.

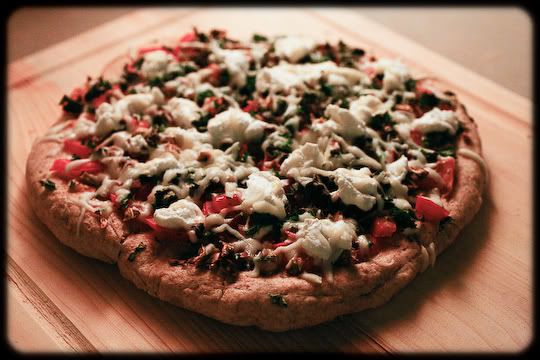
But a happy dork that was craving pizza. Instead of logging in and placing my order at Pizzahut (I may or may not have an express checkout code), I decided to make my own, and work off a favorite recipe, Margherita Pizza.

Not only does it taste fresh, but it is colorful. Makes sense because it is supose to be reminiscent of the Italian flag with vibrant red (tomato), white (cheese), and greens (herbs) and named after Margherita of Savoy.

You better believe I googled that little tid bit.

Photobucket


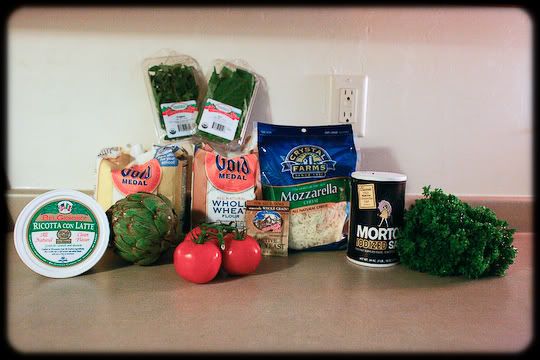
The Cast:

The crust
  • 3/4 cup lukewarm water
  • 1 teaspoon sugar
  • 6 oz packet active dry yeast
  • 3 cups whole-bread flour
  • 1/2 teaspoons salt
The Toppings
  • Olive Oil
  • 1 cup artichoke hearts
  • 2 cups tomatoes, chopped
  • 1/4 cup oregano, unstemmed
  • 1/4 cup parsley, unstemmed
  • 1/4 cup basil, unstemmed
  • 1 cup part-skim ricotta cheese
  • 1 cup Mozzarella Cheese
  • Parmesan Cheese to taste
The Method:

Preheat oven to 500 degrees (do this while making the crust in order to have it properly heated). Put the pan or baking stone that the pizza will be put together on in ahead of time.

Mix yeast and sugar in a container. Add lukewarm water and stir thoroughly. Allow yeast at least 10-15 minutes in order to start getting its groove on. When it starts to bubble on top, this is generally a good indicator it is ready.

Photobucket

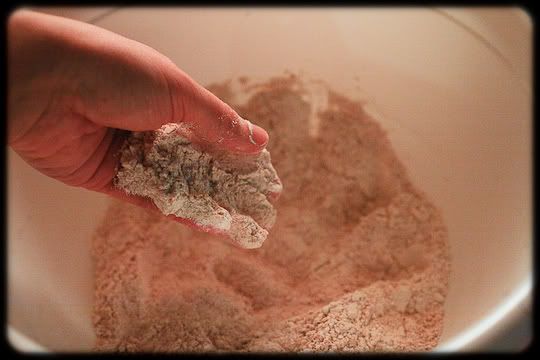
Put together dry ingredients for crust in a separate mixing bowl.

Photobucket

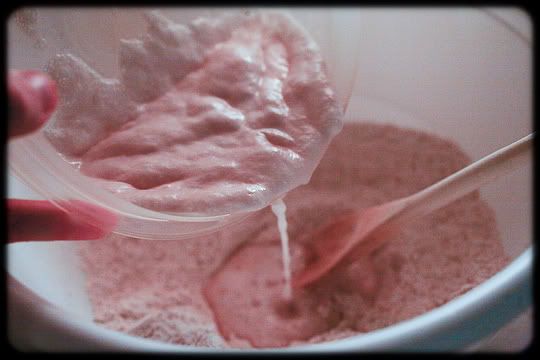
Slowly add the yeast mixture using a wooden spoon to stir and continue kneading with your hands.

Photobucket

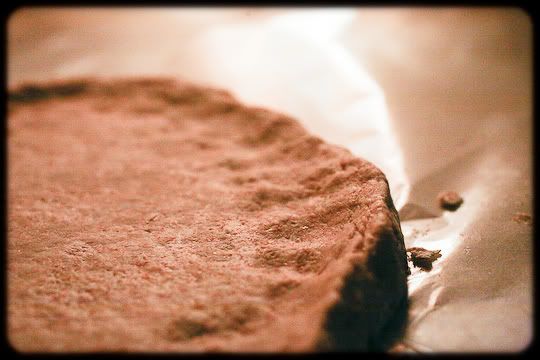
Add additional flour to the counter or a wood cutting board and knead until all the flour has been taken in by the dough. Roll dough onto parchment paper, about 1/4 inch thick, creating a small rise at the edges.

Photobucket

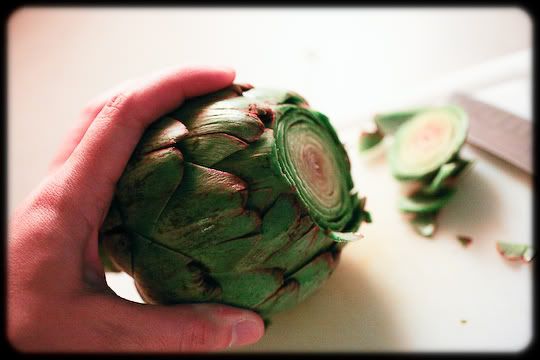
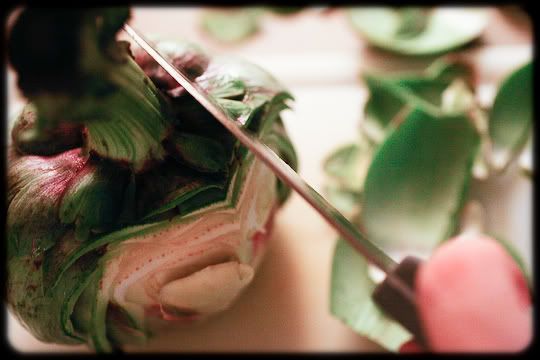
Now start cutting up the tomatoes and artichoke heart.

Photobucket

Photobucket

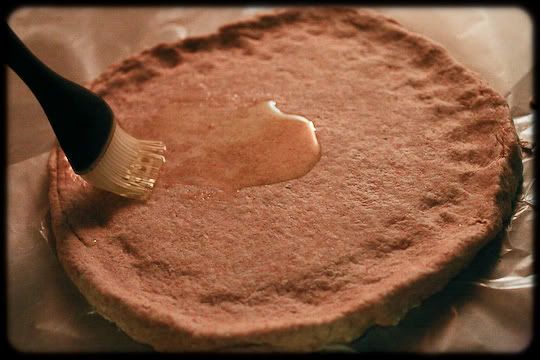
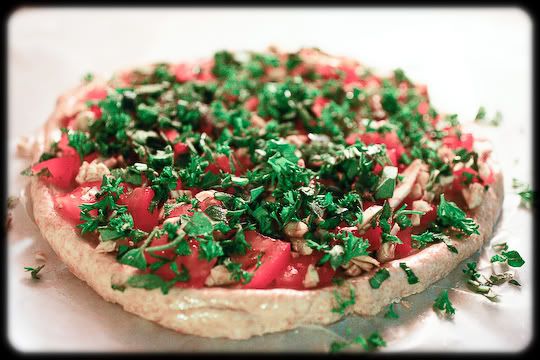
Use a brush to cover dough with olive oil and begin by layering the tomatoes and herbs. It smells so lovely. Bake for approximately 8 minutes.

Photobucket

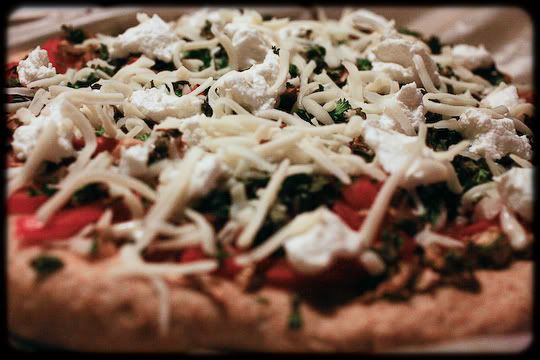
Add the Ricotta and Mozzarella cheese and put back into the oven for another 3-4 minutes, or until the edges start to look golden.

Photobucket

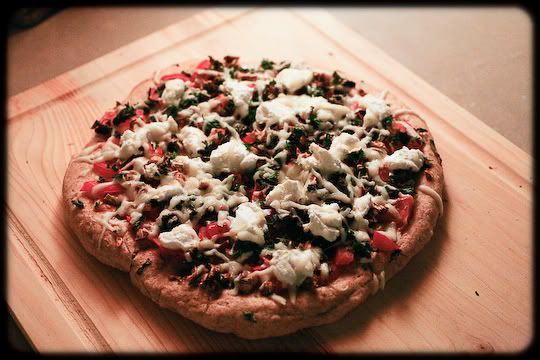
So easy, and so good. Pull out, let it cool and then enjoy!

Photobucket

5.10.10

Pita + Hummus { Part 2 ::: The Hummus }

Photobucket

This is the easy-peasy version of Hummus. I like it no fuss and a bit mild--mind you, not bland but mild. And it has the two thumbs and toe up from all of my office mates, including the hummus connoisseurs as well as those who swore up and down that they did not like hummus.

The Cast:
  • 15.5 oz can chickpeas (garbanzos) - drained but save the juice
  • 1 lemon
  • 1/4 cup tahini
  • 2 cloves garlic
  • 1/2 tsp salt
  • 2 tbsp olive oil
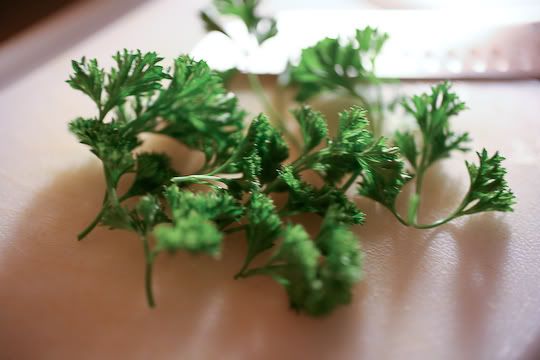
  • 1/4 cup chopped parsley
The Method:

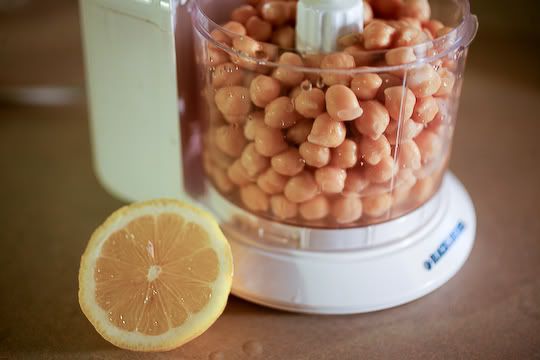
In a food processor add the can of drained chickpeas and aprox. 1/4 cup of the juice from the chickpea can. Cut the lemon and squeeze the juice into the processor. Begin blending.

Photobucket

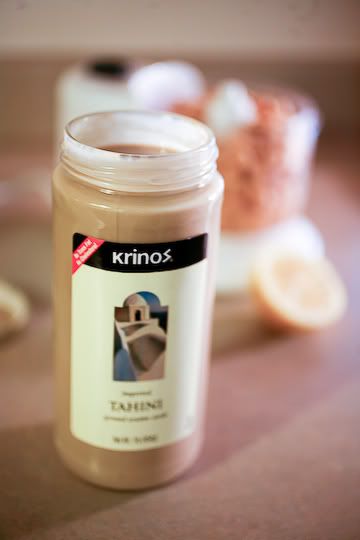
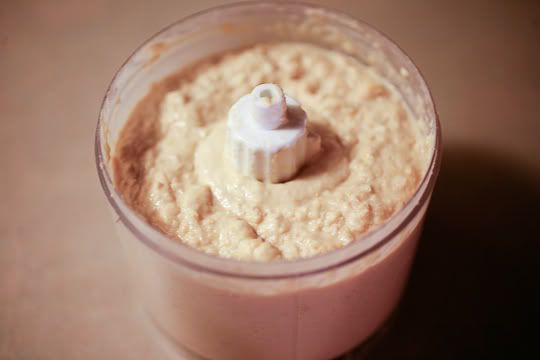
Add into the mix the 1/4 cup of Tahini, along with the salt. Tahini is a sesame seed oil, and tends to seperate in the jar, so it is a good idea to stir it up well before pouring into the food processor. Blend until smooth. If having a difficult time blending, pour in slowly some more of the juice from the chickpea can.

Photobucket

When the texture looks consistent, take a sample bite and flavor to personal preference adding more lemon juice, salt, or tahini.

Photobucket

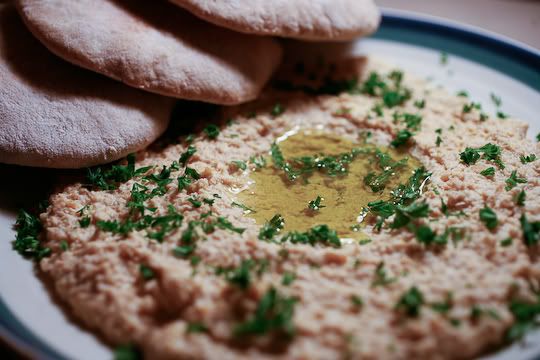
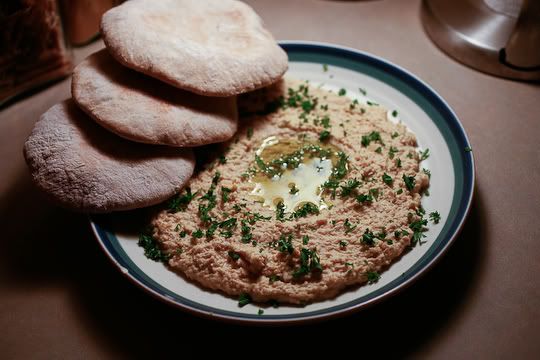
When satisfied, spread over a plate, leaving a well in the middle of the hummus. Finely chop up some fresh parsley and sprinkle over the mixture. May also use other spices, such as paprika to give it a little umph.

Photobucket

Drizzle the olive oil into the well and it is ready to go. Best if slightly chilled. Serve with pita bread, veggies, use as a spread in sandwich--this little bugger is good just about anywhere.

Photobucket

Pita + Hummus { Part 1 ::: The Pita }

Photobucket

I love pita bread because the ingredients are so simple, and the end result is so much better then the ones I find in the store. Sure, I usually burn my knuckles trying to whip the pans out of the oven so quickly, but that can be chalked up to excitement.

The past week as the temps start to cool I have been in more of a cooking mood. Something about fall and the leaves changing colors just makes me want to pull out my apron and channel Julia Child. So, without further ado:

The Cast:


1 tsp sugar
1 packet yeast (aprox 7 grams)
1 cup warm H2O
2 cups wheat flour
1 cup bread flour
1 tsp salt
1/4 cup olive oil

The Method:

In a small container, stir in the sugar and packet of yeast. Add in 1/2 cup of warm water. The sugar will help activate the yeast. Let this little Dexter experiment sit for about 10-15 minutes.

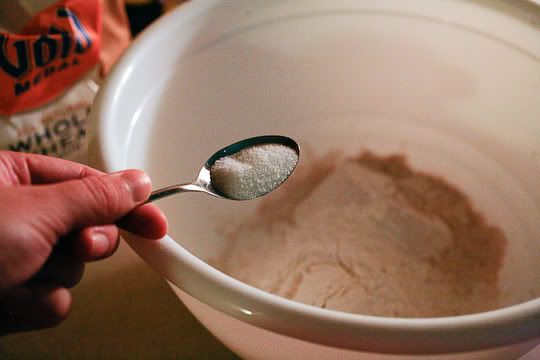
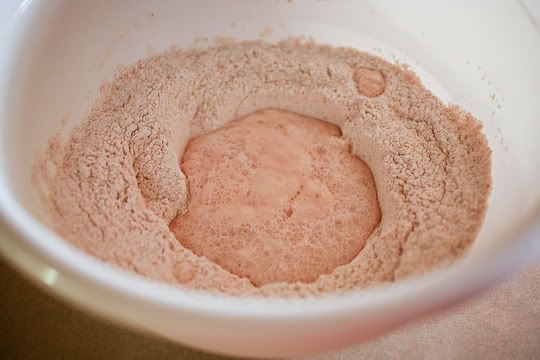
Meanwhile, in a large mixing bowl, add in the wheat and bread flour. You could just go with all bread flour, but to make it a tad bit more healthy, I went with the wheat option and it turned out brilliantly. Stir in the salt.

Photobucket

In the center of the flour make a little well and add in 1 cup of warm water.

Photobucket

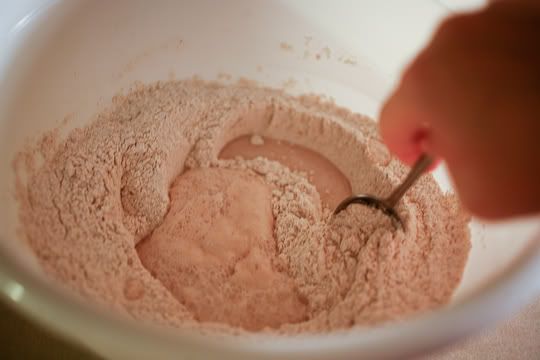
Slowly begin stirring in the flour, working your way to the outside of the bowl. Note of what not to do: all my wooden spoons were in the sink to be washed. Make life easier and use a good ol' fashion wooden spoon during this part of the process, it is less likely to stick to the dough.

Photobucket

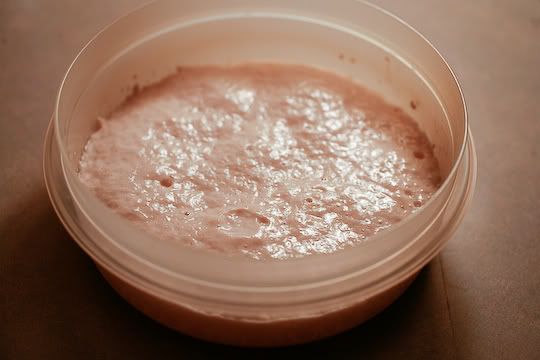
The yeast should be about ready and you can tell because it will be a tad bit bubbly on the top.

Photobucket

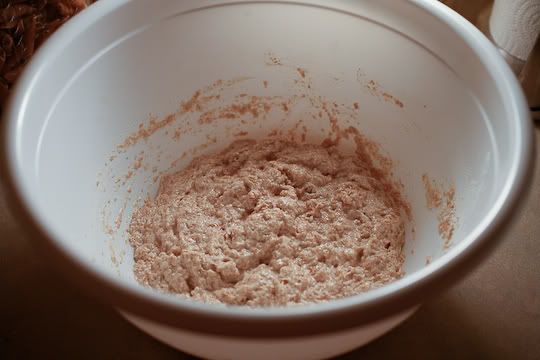
Now it is time to mix in the yeast/sugar mixture. It is going to be a tad bit lumpy, but no worries, everything will smooth itself out shortly.

Photobucket

In another bowl drizzle in some olive oil. Move it around to cover the bottom and outside edges of the bowl. In the end I probably used about 1/4 cup. Then take the dough and put in the olive oil filled bowl. The oil will help so that the dough does not stick to the sides, but it will also encourage it to rise upwards.

Photobucket

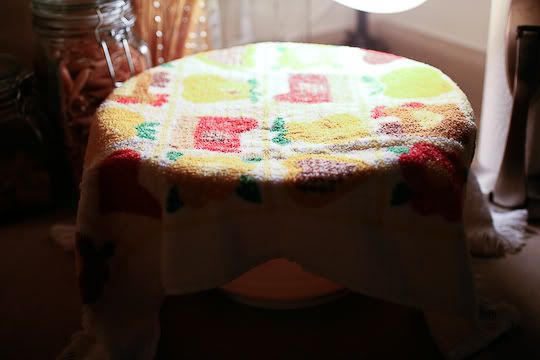
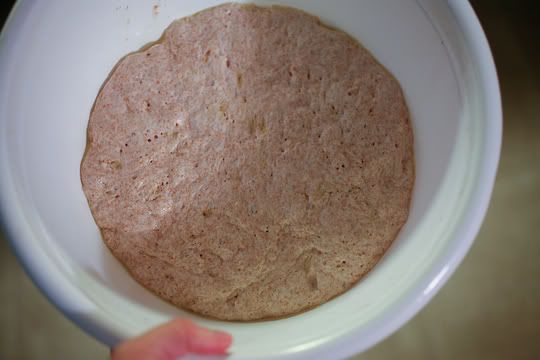
Cover the dough with saran wrap and then add a towel over the top. Store in a warm place for 45 minutes to an hour. For me that was over the dishwasher, where I was actually trying to clean things up a bit. Desperate times call for desperate measures when you suddenly run out of forks.

Photobucket

It's at this point when the dough is rising that I will generally make my hummus, but that portion is for another post. So this time around I am going to sit back, prop me feet up and enjoy Dancing with the Stars.

Photobucket

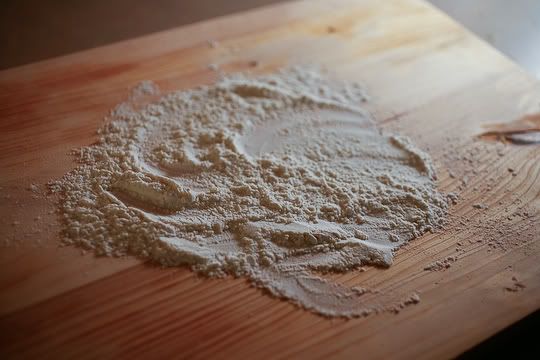
After the dough has had its breathing time, add flour to your surface. I like to use a wood cutting board. Contains the mess, a bit, and sticks a little less.

Unwrap the dough that has been resting (talk about taking it easy before a workout), it should have risen in the bowl, and come cleanly off the edges thanks to the olive oil.

Photobucket

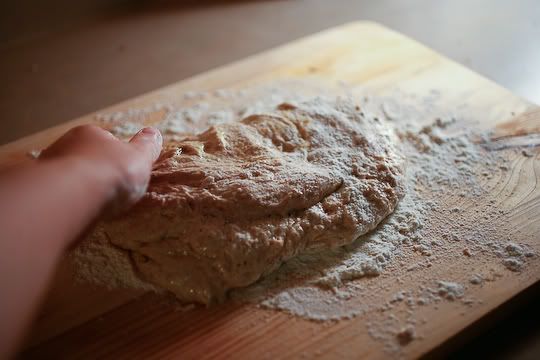
Now it is time for the baking workout. Using the flour on the board, and generously adding some more as it kneads into the dough. The dough is ready when it no longer sticks to your hands or the board. If it is sticky, keep working it in. Took about 15 minutes for me to make this dough submissive to me and my muscular kneading arms. All this will help and make it nice and crusty.

Photobucket

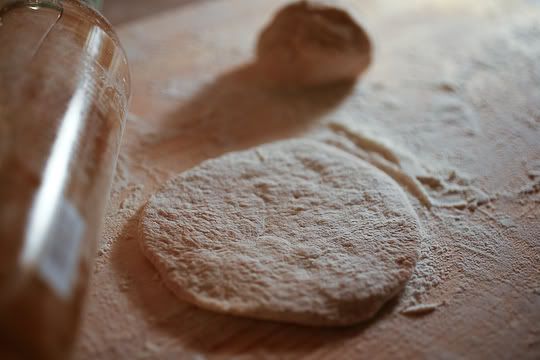
Once the dough is thoroughly kneaded, break it off into small balls, rough the size of your fist. Take them and roll them out with a rolling pin (or wine bottle in my case -- white wines are rather nice for this). They should measure about 5-6 inches in diameter.

Photobucket

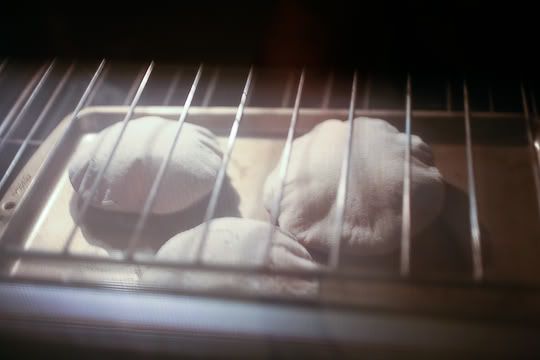
Now the part where I usually burn myself on the oven. It should be preheated to a whopping 500 degrees, and you want to make sure that the rack is on the lowest rung. I preheat the pan in the oven, so when it is ready, the bread bakes to moment it hits the metal.

Add the dough to the sheet -- 2 to 3 pieces to the pan. Put in the oven for 4-5 minutes. It will start to balloon up and look like a whoopee cushion. Take them out and flip them, putting them back in for another two minutes. The pitas should be soft, so when the edges start getting a little browned, it it time to take them out.

Photobucket

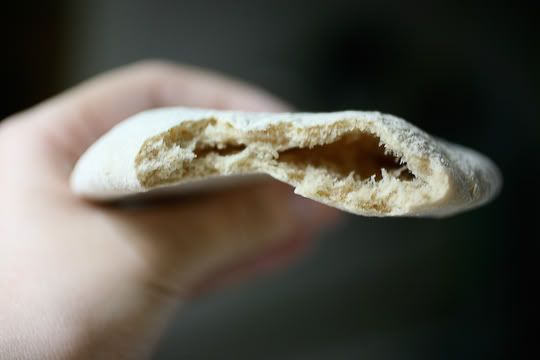
Place the pitas on a cooling rack. Using a knife, I deflate them a bit.

Photobucket

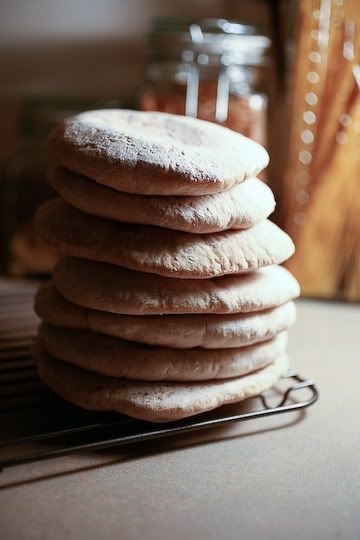
And when they are done, they are a nice, soft bread, ready for just about anything. In this case it was hummus, but I saved a few extras for the morning and spread them with Nutella and Almond Butter.

Store in a plastic bag letting out the air before closing it up so they stay nice and moist.

23.9.10

Whole Wheat Cinnamon Roll

Photobucket

Another recipe I hocked, this one from With a Side of Sneakers. I saw it and knew it would be a challenge because I do not bake a lot of bread-like recipes. And I rarely back down from a challenge. *putting on game face* Bring it on recipe, bring it on. And if I can take on this recipe, anyone can do it.

The Cast:

Dough
1 cup almond milk
1 packet instant yeast
2 cups whole wheat flour
1/2 cup bread flour (and a little extra for kneading)
1/4 cup granulated sugar.
2 tbsp. baking powder
1/8 cup salt
2 tbsp. cinnamon
4Tbs. apple sauce

Filling
2 Tbs. margarine
5 Tbs brown sugar
3 tbsp. cinnamon

Icing
Powdered sugar
Almond milk (aprox. 1/8 cup)
Vanilla 1 tbsp.

The Method:

Heat almond milk on the stove with low-medium heat and lightly stir in yeast. It should not take long to bake, and mine started to bubble on the top, this was when I knew it was done.

While the almond milk is heating, I started in with the dry mix. In a mixing bowl, add in the wheat flour, bread flour, and sugar. Stir vigorously, and add in a bonus workout for the day.

Next add in the baking soda, salt, and cinnamon. Now stir with the other arm, it feels a little left out, not to mention it needs a workout too.

Once the almond milk is heated (this should only take a few minutes), add it into the dry mix. In comes the applesauce, or your egg replacement material. Stir that bad boy up again, but with a little less vigor then before. Think of this as your cool down. My mixture was not very doughie yet, and I had to work a bit to get it to accept all of the flour.

Sprinkle some bread flour over your flat surface and smooth it out. Also feel free to coat your hands a bit. This will help the dough from sticking to you. Knead that little dough until it makes a nice little ball.

Now comes in the rolling pin. Except if you get to this part in the recipe and realize that after all this time in your life, you still do not have a rolling pin.

Voila! A whine bottle. Sprinkle some flour over this little bugger and start rolling out the dough into a rectangle. (Random side note: this little rolling pin is a local whine from up in Door County called Plum Loco, and it is light, sweet and fantastic. Also pretty economical, two thumbs and a big toe up from me).

Photobucket

Once the dough is rolled out, melt a little margarine in a pan, I used the same one as the almond milk because extra dishes are no fun. Then spread it over the dough. And yes, even though I do not have a rolling pin, I do have one of those fancy pastry brushes--the hypocrisy of it all.

Sprinkle the brown sugar and cinnamon over top, then start rolling up the dough. Make sure it is nice and tight at the beginning. Once it is rolled up, begin slicing, I stuck with the original and went with about 1 inch spacing. (Another side note, I tried the dental floss trick the original recipe suggested, and it flopped. Not sure if my technique was up to par, so I went back to a knife.)

Earlier when I melted the margarine, I was at the end of a stick, so I saved the wrapper. I used this wrapper to grease the inside of my baking pan. Otherwise, good ol' spray will do.

Cover up the pan and set in the fridge overnight.

Then eventually go to sleep. And wake up. Good morning!

Preheat the oven for about 350 degrees. While this is happening, melt a little bit of margarine and spread it over the top of the rolls. Sprinkle a dash of granulated sugar, brown sugar, and cinnamon on.

Slip the pan in for about 20-25 minutes (time will vary depending on the type of pan used (glass or metal) and how awesome your stove is (mine is not exactly top of the line and it takes a bit to start kicking in).

While this is going on, time to start in on the icing. I used a measuring cup so that it would be easier to pour after everything was mixed up. I added the almond milk first as well as the vanilla and gave them a little swirl. Then I slowly started adding in the powdered sugar. This is where it took a bit of experimentation. You want the icing to be firm, but also able to be poured.

After the cinnamon buns are baked, pull them out and let them cool for a bit before applying the icing. I was a bit impatient, so some of my icing melted and slide off into the bottom of the pan, but I think of that as a mini-treat for later. *shrugs shoulders* It happens.

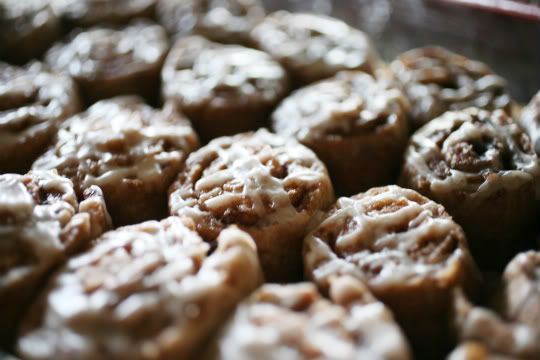
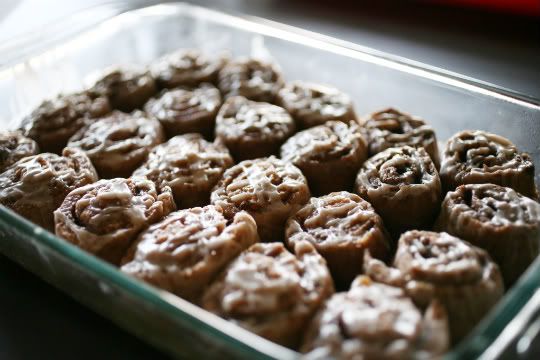
Fin. I brought mine into the office and they were a big hit. I had two batches. The first with the recommended amount of salt, and the second with half the amount. The second batch did not look quiet as fluffy, but folks noticed immediately the difference in salt and preferred the ones with less NaCl inside. There was also an overwhelming amount of support to bring these in again, so I call that a group consensus hit.
Photobucket

22.9.10

Zucchini Pasta Salad

Photobucket

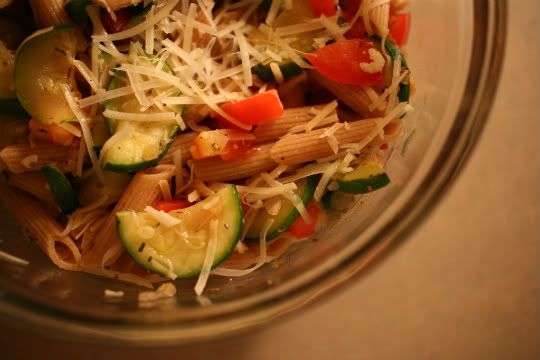
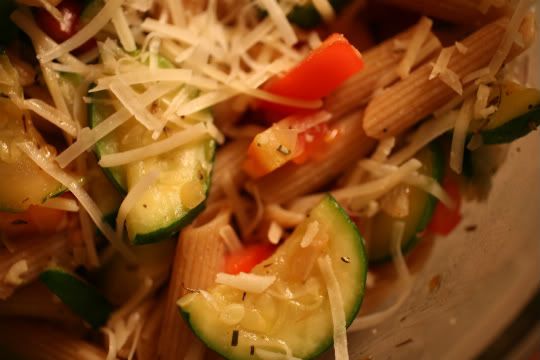
The original version of this salad came from Dietitian on the Run. I made a couple of slight modifications thanks to the less then hearty selection at the super market, but am actually pleased with the result. I doubled up on the servings as well so I could have some at dinner last night, and save some for lunch today.

The Ingredient Line Up:

2 cups uncooked whole wheat pasta
1 organic zucchini, sliced
1/2 sweet red onion, finely diced
1 tsp rosemary,
1 tsp thyme
A dash of pepper
A dash of salt
1 cup Tomato, chopped
2 tbsp Olive Oil
Grated Parmesan Cheese

The Method:

Boil the water and add a tablespoon of olive oil to the top of water. Throw in wheat pasta and stir for 30-40 seconds before letting boil. This lets the pieces get coated in the olive oil and allows them less of a chance to stick together. Cook until al dente so it has a little bit when mixed in with the veggies.

While this is going on, throw the other tablespoon of oil into a saute pan an medium heat. Add the chopped zucchini and onion. Stir in the rosemary, thyme, and then add pepper and salt to taste.

Once the noodles are cooked, drain in cold water and then throw them into a mixing bowl. Add in the veggie mix, as well as the chopped tomatoes. Mix it all up.

Finish up with the grated parmeasan cheese, and then it is ready to serve warm, which is what I did last night--or as recommended, toss it in the refrigerator and eat it cool.

Then taunt your coworkers with your delicious lunch while they contemplate the freezer burn frozen meal in the fridge or another can of soup. Not that I would ever do that :-D

Photobucket

16.9.10

Swimming, Kale Chips, Greek Yogurt, & Yoga, OH MY!

Kale Chips

Kale Chips

I have read about these little buggers in a few different blog posts. The first time, I think was on Eat, Live, Run in her archives. Since then, I have seen the little buggers all over the place. Not to be a lemming, but I wanted to see what all of the fuss was about. Most of the recipes seem to be about the same. The first time around was so good, that I have made another batch to enjoy and perfected my methods a bit.
5 leaves of Kale
1 tablespoon of olive oil
1 tablespoon of seasoned salt (sea salt worked too)

Preheat the oven to 350 degrees. While it is warmin' up, wash the Kale leaves and use a salad spinner to dry them out. Or the old fashion way, swing them around in the sink to get the extra water off.
Cut out the inner steam with kitchen sheers (I find it fastest to fold the leaf in half and make a quick cut). Then cut the remainder of the leaf off into small bit sized pieces.

Now here is where artistic paths diverge. I like to get a little messy, and I do not like wasting a plastic bag. So instead of putting the Kale pieces in a baggie and mixing in the olive oil that way, I toss them into a bowl, drizzle the olive oil over top, and start using my hands to mix it all up. Or you could use salad tongs, but it is much more fun my way.

Taking a piece of parchment, lay it over a non-insulated baking sheet, and begin spreading the Kale pieces out. Take the seasoned salt and sprinkle over the top.

Pop the baking sheet into the oven for about 10 minutes, or when the Kale starts to get brown edges. This is the tricky part because the leaves can burn rather easily. Slightly brown edges-- just perfect. Totally charred Kale--an atrocity.

Put them out and let them cool off. Best when served fresh. Although I brought them into work the next day and my officemates sang their praises, so as long as they are packaged up, they will hold.

Swimming & Breakfast Goodness

This morning I was able to pull myself out of bed and drive over to the gym. It was pouring outside and although I will run through light raining, when it downpours I draw the line.

Instead I threw on my swimsuit and started in on laps at the pool. When I walked into the pool area the serious swimmers were still doing their morning workout. Taking motivation from their impressive style, I grabbed some flippers and hopped in.

Warmed up for five minutes with an easy breast stroke. Then went into some 50 meter freestyle sprints without the fins, and then a lap of easy backstroke for rest. I liked to equate them to my swim version of a fartlek workout. Maintained this for thirty minutes, and finished with a five minute easy breast stroke cool down.

I'm feeling stronger in the water and hope to build on that this winter so I can be ready to start training for some open water swimming in the spring.

Patting myself on the back for a workout well done, I headed home and made one of my favorite breakfasts.

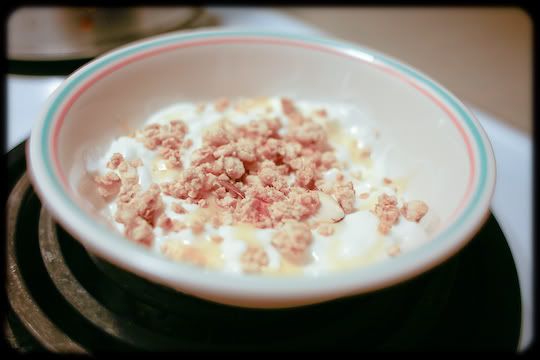
Greek Yogurt with Granola

Honey Vanilla Greek Yogurt was the star of the bowl. Sprinkled on French vanilla granola (YUMMY!), and finished it off by drizzling on about a teaspoon of organic honey. Definitely hit the spot.

Topped it all off with a slice of whole grain bread, and what other than -- NUTELLA!

Yoga with Whiskers

At work I realized my upper back was stiff. Probably had something to do with overexerting them when I was doing my strength training last night. Evening plans revolve around making a little dinner and stretching it out with some yoga in the living room. Good activity to do on a chilly evening.

My kitties think so too, because they are already running all over the mat.

13.9.10

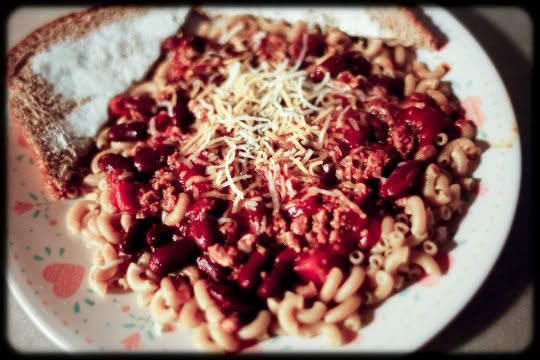
Chili with Turkey

Photobucket

16 oz lean turkey
2 garlic cloves (diced)
32 oz. of diced tomato
30 oz. of kidney beans
3 tablespoons chili powder
Optional: 1.5 cups of wheat macaroni
Also optional: a few tablespoons of colby and monterey jack cheese

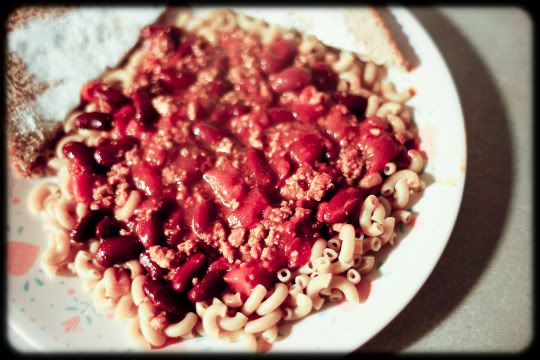
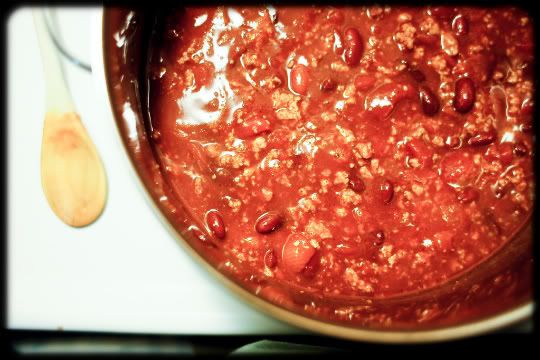
Easy and simple, as well as mild. Full of carbs and protein, and a bit of childhood nostalgia. Ground turkey in frying pan on medium heat. Once meat is cooked, stir in diced garlic cloves.

In separate pot, turn on medium heat, add diced tomato and kidney beans together. Mix in chili powder. Once turkey is ground, add in and allow to simmer for twenty-five minutes.

Photobucket

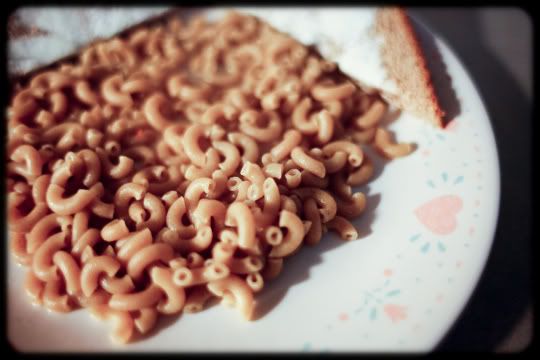
Now for the very Wisconsin addition to the recipe. Cook wheat pasta until al dente in a separate pot (the firm taste is great when mixed in with the kidney beans. I picked elbow macaroni for a bit of nostalgia, since this is what my mom always used in her recipe, but any kind would do. My friend from Michigan says that folks do not generally add in the grain, and that it was only when she moved here that it became common. So enjoy the feast that is pasta added to the chili!

Photobucket

And because I have been very good this week, and it is football Sunday, a small dash of colby and monterey jack cheese sprinkled on top. Good meal for a cool (almost fall) day.

Photobucket